
Having a dockerized Keycloak service that works out-of-the-box and contains an imported realm with its default users is very useful. Not only does this greatly simplify the setup process, it also allows us to share a replicable Keycloak instance with other developers.
I’m going to describe two ways of importing a realm from a file:
- with a Docker volume and an environment variable that triggers an import every time we start the container but only executes it if the realm doesn’t exist yet,
- with a Docker volume and a command executed in our running
keycloakservice that will use a mounted volume but has to be triggered (manually or with a script) and can be configured to always replace an existing realm.
However, if you need to import multiple realms or a realm that has been exported to many files, see the Keycloak in Docker #6 – How to import realms from a directory post.
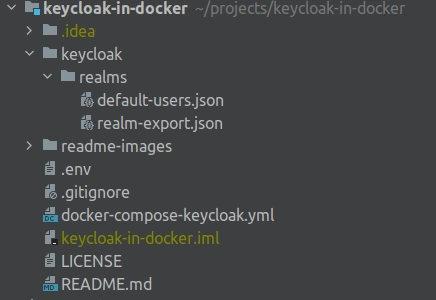
For the reference, below you’ll see how the keycloak directory tree will look like in my project after finishing the work described in this article:
Prerequisites
- I’m going to work with Keycloak running as a Docker service. You can learn how to run Keycloak with Docker in the Keycloak in Docker #1 – How to run Keycloak in a Docker container post. As a result of my previous work, I have two services running on my machine:
|
1 2 3 4 |
docker ps CONTAINER ID IMAGE PORTS NAMES 774a1d259bf9 jboss/keycloak:15.0.2 8443/tcp, 0.0.0.0:8024->8080/tcp, :::8024->8080/tcp keycloakindocker_keycloak_1 6f10181d012b postgres:14.1-alpine 0.0.0.0:5433->5432/tcp, :::5433->5432/tcp keycloakindocker_keycloakdb_1 |
Create and export a custom realm
| You can skip this part, if you already have a valid json file for your realm. |
First of all, we’re going to create our custom realm using the Keycloak UI. You can find some example realms in the collection of official Keycloak examples on GitHub (e.g testrealm.json) and use them as an inspiration to create yours. However, for the sake of simplicity, I’m going to:
- run the
keycloakservice, - use the UI to create a simple realm,
- export the realm using the Admin console export (not all resources can be exported with this method but it’ll be enough for this example),
- add some default users to my exported realm file,
- destroy the dockerized services.
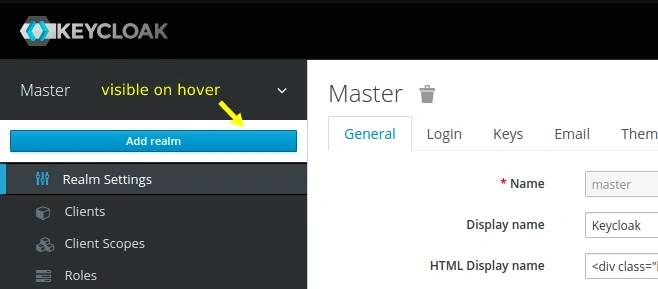
Visit the http://localhost:8024/auth/ url and log in with admin credentials (keycloak:keycloak in my example). Hover the mouse over the name of the default “Master” realm in the top left corner of the page:
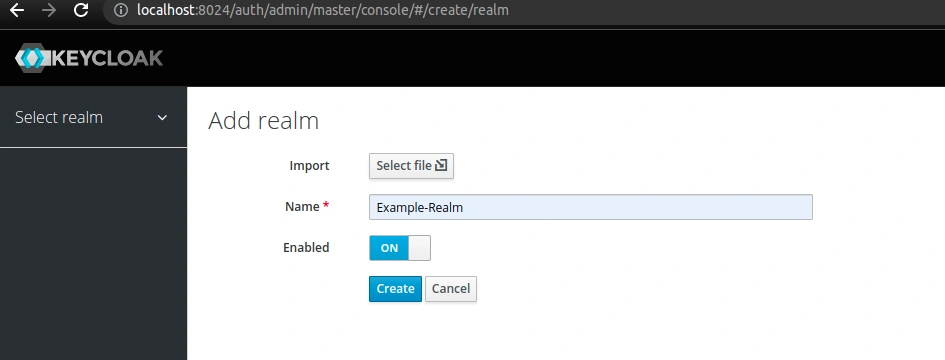
Click the Add realm option to go to the form where we’re going to provide our realm name:
As we can read in the official documentation:
The realm name is case-sensitive, so make note of the case that you use.
https://www.keycloak.org/docs/15.0/getting_started/index.html#creating-a-realm-and-a-user
Furthermore, the name will be used in urls so we don’t use any whitespaces here. I’m going to name my realm Example-Realm and provide Example Realm name as a value that will be displayed to users:
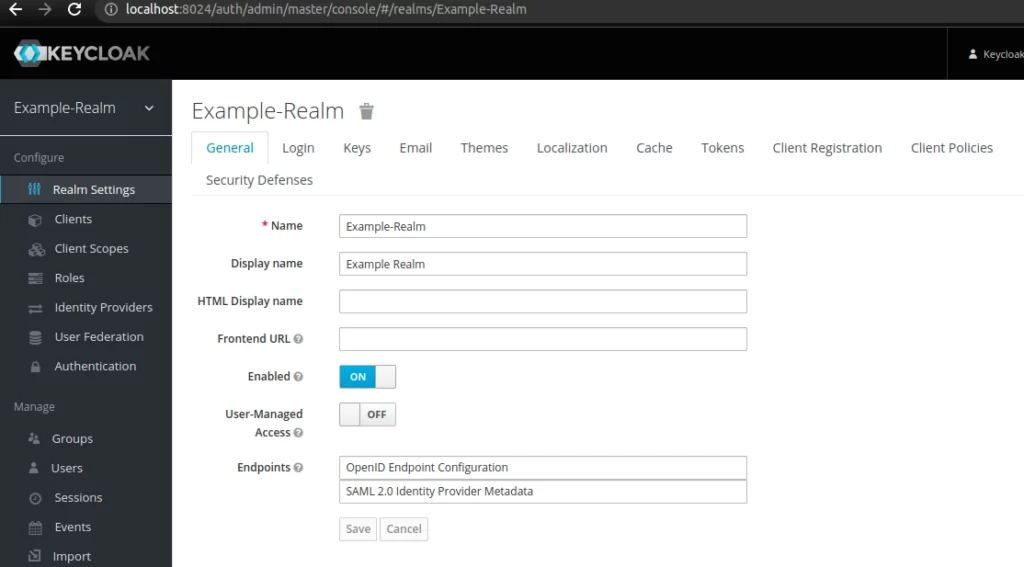
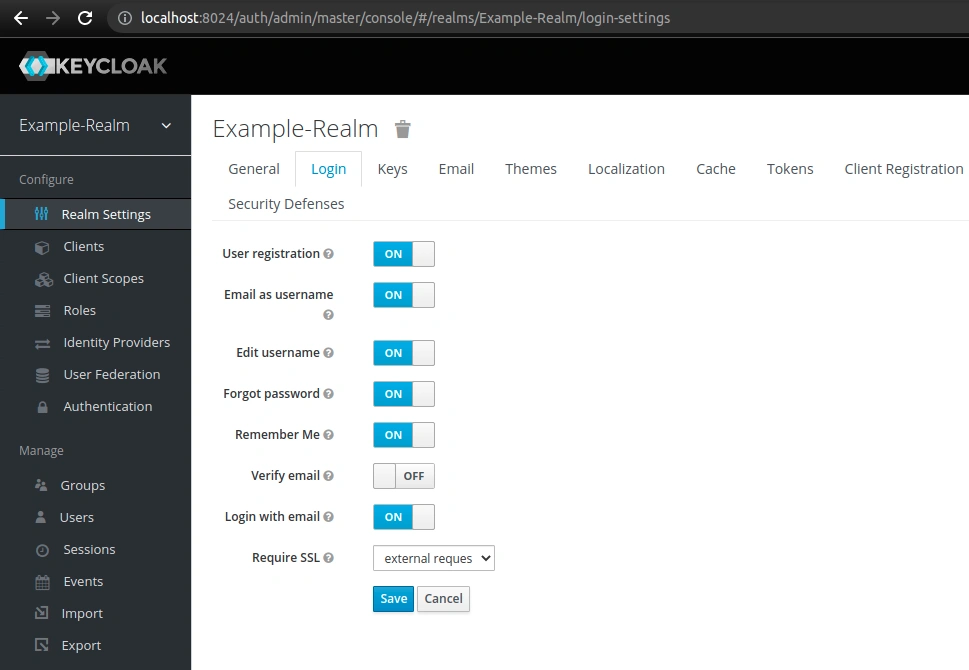
Next we should define all the other settings for our realm. For instance, you can see my example Login configuration on the image below:
This is all I will need in my example realm. You can freely configure yours before exporting it.
Export the realm
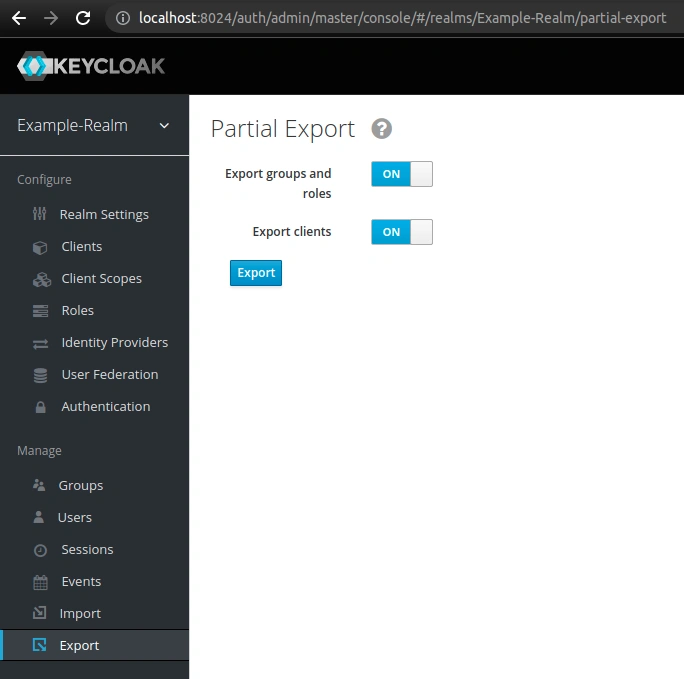
We’re going to export our realm to a json file. Select the Export option from the side menu and choose what you want to include in the exported file:
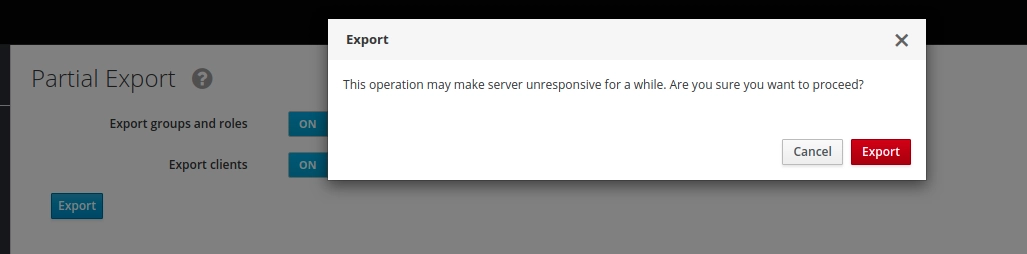
Remember that realm export may take some time and make the service unresponsive for other requests:
As a result, we’ll have the realm-export.json file saved on our machine. Remember the location of this file as you’ll use it to provide the volume content for our dockerized Keycloak.
Add default users
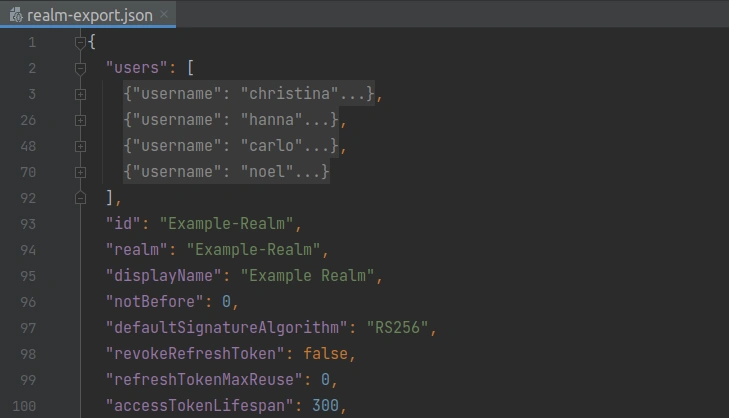
I find it helpful to keep a separate json file with default realm users stored in the project’s repository (and you can find it on the project’s GitHub page). Below you’ll see an example user Christina Travis from the list I’m going to add to the realm:
|
1 2 3 4 5 6 7 8 9 10 11 12 13 14 15 16 17 18 19 20 21 22 23 24 25 26 27 |
{ "users": [ { "username": "christina", "enabled": true, "email": "christina@test.com", "firstName": "Christina", "lastName": "Travis", "credentials": [ { "type": "password", "value": "test" } ], "realmRoles": [ "user" ], "clientRoles": { "account": [ "view-profile", "manage-account" ] } }, … ] } |
Now, we’re going to add the users list at the beginning of the relam-export.json file (users’ details are folded so that we can see the list and the start of the realm config) as you can see on the following screenshot from my IDE:
Remove containers
Now, we can remove the containers and the database volume with the following command:
|
1 |
docker-compose -f docker-compose-keycloak.yml down --volumes |
Import a Keycloak realm on a container startup using an env variable
We’re going to map a volume to our realm-export.json file and use the KEYCLOAK_IMPORT environment variable.
Define the volume for realm import
The image documentation tells us to use the KEYCLOAK_IMPORT environment variable to specify the realm file mounted to the /tmp directory:
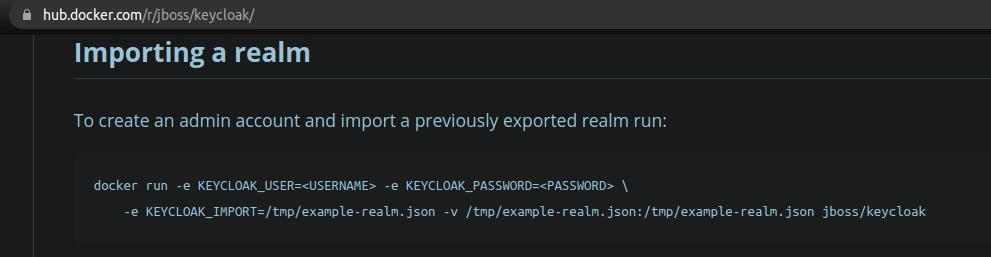
Therefore, I’m going to add the volume with the realm to my docker-compose.yml file:
|
1 2 3 4 5 6 7 8 9 10 11 12 13 14 15 16 17 |
# backend/docker/docker-compose-keycloak.yml … services: keycloak: image: … ports: … environment: - KEYCLOAK_IMPORT=/tmp/realm-export.json … volumes: - ./keycloak/realms/realm-export.json:/tmp/realm-export.json networks: … depends_on: … … |
Recreate the container
Make sure that the keycloak and keycloakdb services (and their volumes) were purged from your system after you had exported your realm. Now, we’re going to recreate the containers with the following command:
|
1 |
docker-compose -f docker-compose-keycloak.yml up -d |
You should see the Keycloak realm import info in the keycloak container logs:

Let’s visit the http://localhost:8024/auth/ url and log in with admin credentials again. This time, we can see the imported Example-Realm realm with its test users:

After restarting the keycloak service, we’ll see the following message in its logs:
|
1 |
09:46:09,016 INFO [org.keycloak.services] (ServerService Thread Pool -- 66) KC-SERVICES0003: Not importing realm Example-Realm from file /tmp/realm-export.json. It already exists. |
You can see the work presented in this article in the ada085f379746d91bf8f3024843780b2585c415f commit.
Import a Keycloak realm with a command
Alternatively, we can execute the following command in a running keycloak service (the container from this example is called keycloakindocker_keycloak_1):
|
1 2 3 4 5 6 |
docker exec -it keycloakindocker_keycloak_1 /opt/jboss/keycloak/bin/standalone.sh \ -Djboss.socket.binding.port-offset=100 \ -Dkeycloak.migration.action=import \ -Dkeycloak.migration.provider=singleFile \ -Dkeycloak.migration.realmName=Example-Realm \ -Dkeycloak.migration.file=/tmp/realm-export.json |
Note, that we still need a volume mapping the realm file from our machine to the /tmp/ directory in the container (as described in the previous section). However, the KEYCLOAK_IMPORT variable is not needed with this method:
|
1 2 3 4 5 6 7 8 9 10 11 12 13 14 15 16 |
# backend/docker/docker-compose-keycloak.yml … services: keycloak: image: … ports: … environment: … volumes: - ./keycloak/realms/realm-export.json:/tmp/realm-export.json networks: … depends_on: … … |
The default strategy is to replace an existing realm. Therefore, we can see in the logs the following info:
|
1 2 3 4 5 6 7 |
… 09:48:00,855 INFO [org.keycloak.services] (ServerService Thread Pool -- 61) KC-SERVICES0031: Import of realm 'Example-Realm' requested. Strategy: OVERWRITE_EXISTING 09:48:00,855 INFO [org.keycloak.exportimport.singlefile.SingleFileImportProvider] (ServerService Thread Pool -- 61) Full importing from file /tmp/realm-export.json 09:48:00,956 INFO [org.keycloak.exportimport.util.ImportUtils] (ServerService Thread Pool -- 61) Realm 'Example-Realm' already exists. Removing it before import 09:48:03,279 INFO [org.keycloak.exportimport.util.ImportUtils] (ServerService Thread Pool -- 61) Realm 'Example-Realm' imported 09:48:03,303 INFO [org.keycloak.services] (ServerService Thread Pool -- 61) KC-SERVICES0032: Import finished successfully … |
Quit the process with Ctr+C after a successful import.
You can find more on the keycloak.migration properties in the official Keycloak guide.
Troubleshooting
What to check when the command import didn’t work as planned?
No such file or directory
If you see FileNotFoundException in the logs make sure that the value you provided for the Dkeycloak.migration.file property value is consistent with the volume mapping. The following example error shows what happens if I provide /tmp/realm-export-test.json to the command but my volume maps to /tmp/realm-export.json:
|
1 |
Error during startup: java.lang.RuntimeException: java.io.FileNotFoundException: /tmp/realm-export-test.json (No such file or directory) |
Permission denied
Make sure that the volume on your local machine wasn’t created by the root user.