There are many responsive and elegant themes available for free that you can use for polishing the presentation layer of your project. But almost always there is a need to add some adjustments to them and in this post you can see how custom styles can be included while the assets are being built with gulp.
What we are going to build
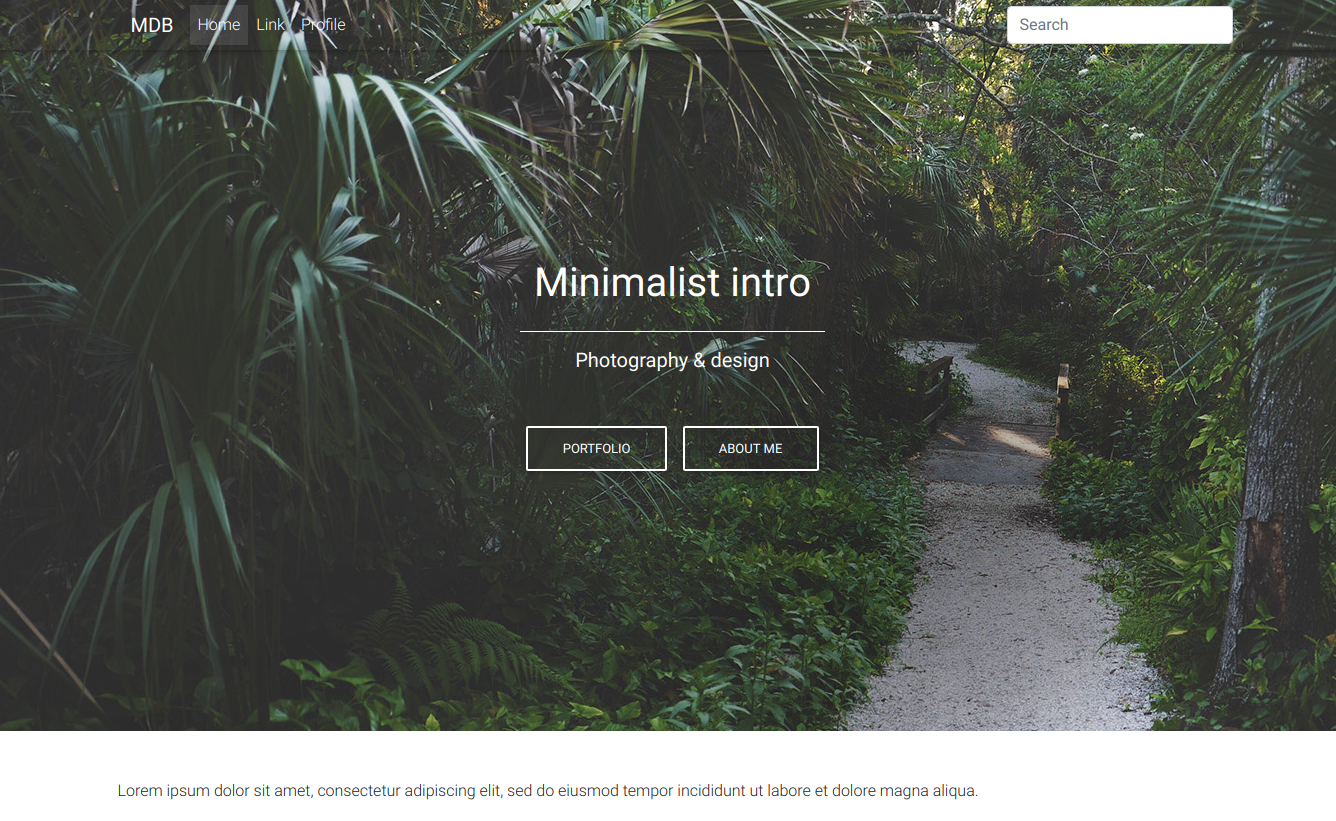
To the project described in the post about jtwig in a Spring Boot app we are going to add some custom css code to make the top navigation act exactly as the one from the original MDBootstrap example and change the background photo. Fortunately, the required css code is accessible through the theme example, so I will reuse it. Following the good practices we will minify the custom styles.
So we will progress from this:

to the version with a new photo and the top menu highlighted during scrolling through the page:

Requirements
In this example I’m working on a project created with:
- Spring Initializr (How to create a new Spring Boot Project);
- npm (Manage project dependencies with npm);
- jtwig (jtwig template engine in a Spring Boot application);
- Material Design for Bootstrap theme and gulp (How to use Bootstrap themes with Spring Boot and gulp).
Create the tailored appearance
Build the custom styles with gulp
We need to add the custom css code, so let’s create the files for it in the resources/static/css/custom directory. You can create just one, custom.css file, but to show how the gulp-concat plugin works I will create the following files:
top_nav.csswith the code responsible for highlighting the top navigation when the page is scrolled through:
|
1 2 3 4 5 6 7 |
/* static/css/custom/top_nav.css */ .top-nav-collapse { background-color: #78909c !important; } .navbar:not(.top-nav-collapse) { background: transparent !important; } |
headers.cssfor some headers styles:
|
1 2 3 4 5 6 7 |
/* static/css/custom/headers.css */ h1 { letter-spacing: 8px; } h5 { letter-spacing: 3px; } |
decorators.cssfor styling the line placed under the title:
|
1 2 3 4 5 |
/* static/css/custom/decorators.css */ .hr-light { border-top: 3px solid #fff; width: 80px; } |
media.cssfor the rest of the code required for the full background image:
|
1 2 3 4 5 6 7 8 9 10 11 12 13 14 |
/* static/css/custom/media.css */ @media (max-width: 740px) { .full-height, .full-height body, .full-height header, .full-height header .view { height: 700px; } } @media (max-width: 768px) { .navbar:not(.top-nav-collapse) { background: #78909c !important; } } |
When using external resources we usually add the files that were already minified. With our custom styles we will include the minification into a gulp task.
Check out your package.json for meeting the dependencies:
|
1 2 3 4 5 6 7 8 |
/*static/package.json*/ … "devDependencies": { … "gulp": "^3.9.1", "gulp-concat": "^2.6.1", "gulp-minify-css": "^1.2.4", } |
You can add the required plugins with npm:
|
1 2 |
$ npm install --save-dev gulp-concat $ npm install --save-dev gulp-minify |
Create the custom_css task in gulpfile.js. List all the source files for the build, minify the code and place it in the destination file – app.css:
|
1 2 3 4 5 6 7 8 9 10 11 12 13 |
//static/gulpfile.js … gulp.task('custom_css', function () { return gulp.src([ 'css/cusotm/top_nav.css', 'css/cusotm/headers.css', 'css/custom/decorators.css', 'css/custom/media.css', ]) .pipe(minify()) .pipe(concat('app.css')) .pipe(gulp.dest('public/css/')); }); |
Run the new task in a directory where the gulpfile.js file is placed:
|
1 2 3 |
$ pwd /home/little_pinecone/projects/spring_boot/awesome-project/src/main/resources/static $ gulp custom_css |
Include the new assets from the app.css file into the base.twig template, so the whole app can access it:
|
1 2 3 4 5 6 |
<!--templates/layout/base.twig--> <head> … <link rel="stylesheet" type="text/css" href="public/css/vendor.css"/> <link rel="stylesheet" type="text/css" href="public/css/app.css"/> </head> |
During the development you can work on one big or many precise css files, just remember to add every new file to the gulp.src. When all globally required assets are put in the vendor and app files after the build, there is no need to modify the base template in case of changes in the list of resources. You can also create more gulp tasks for building the assets that are required only in some part of the app. Include them exclusively in a template that needs them.
Set a new background image
We will change the background picture from https://mdbootstrap.com/img/Photos/Others/img%20%2848%29.jpg to http://mdbootstrap.com/img/Photos/Others/images/91.jpg.
In the intro.twig template you can see that the background image is set with a style tag:
|
1 2 3 4 5 6 |
<!--templates/intro.twig--> <div class="view hm-black-light jarallax" data-jarallax='{"speed": 0.2}' style="background-image: url(https://mdbootstrap.com/img/Photos/Others/img%20%2848%29.jpg);"> <div class="full-bg-img"> … </div> </div> |
It is considered to be a good practice to avoid the style tag whenever possible. Add to your decorators.css the following class:
|
1 2 3 4 5 6 |
/* static/css/custom/decorators.css */ … .cover-image { background: url("http://mdbootstrap.com/img/Photos/Others/images/91.jpg"); background-size: cover; } |
In the command line rebuild your custom styles:
|
1 |
$ gulp custom_css |
and go back to the intro.twig template to remove the unnecessary
style="background-image: … ;" and add the
.cover-image class instead:
|
1 2 3 4 5 |
<!--templates/intro.twig--> <div class="view hm-black-light jarallax cover-image" data-jarallax='{"speed": 0.2}'> … </div> </div> |
Check out the results
After rebuilding the project and refreshing the page you will see the new background image and the navigation changes its colour when you scroll down the page.
Photo by Ricardo Gomez Angel on StockSnap
