
Separating the business logic from the presentation layer can save you a lot of headache during project maintenance. Unless the frontend is managed with a framework like Angular or Vue.js you should use a template engine. Check out how to utilize jtwig in a Spring Boot project.
What we are going to build
There are many template engines compatible with Spring Boot, for me the easiest one to work with is jtwig. In this example I will show you how to:
- integrate jtwig with a Spring Boot project,
- increase code reuse with the template inheritance,
- keep templates small and reusable by dividing one view into chunks that can be easily included,
- override parts of views using blocks.
Feel free to browse through the jtwig documentation, as it’s short but exhaustive.
Requirements
- The assets, build into the
vendor.cssandvendor.jsfiles, are included into the base template. Acquaint yourself with the How to use Bootstrap themes with Spring Boot and gulp post first, if the concept of assets management is new to you. - We are working on a Spring Boot project with the Web package dependency. You can read about setting up a project like this in How to create a new Spring Boot Project.
- For the IDE I recommend IntelliJ IDEA Community Edition.
Add jtwig to your project
Let’s add the jtwig dependency to the project in the pom.xml file. Copy the following code into the <dependencies> section:
|
1 2 3 4 5 6 7 8 |
<!--pom.xml--> … <dependency> <groupId>org.jtwig</groupId> <artifactId>jtwig-spring-boot-starter</artifactId> <version>5.87.0.RELEASE</version> </dependency> … |
If you are working in InteliJ IDE choose Enable Autoimport option when prompted or confirm this option in settings. The dependency is now included into the project.
Create views
We will create a simple landing page, just to test that the views are handled properly. Firstly, we need a base template that will be extended by other views. It contains a {% block %} called content, were all child templates can define their essence. We will also place here all built css as well as javascript assets that are available across the app:
|
1 2 3 4 5 6 7 8 9 10 11 12 13 14 15 16 17 18 |
<!--templates/layout/base.twig--> <!DOCTYPE html> <html class="full-height"> <head> <meta charset="utf-8"/> <title>Page Title</title> <link rel="stylesheet" type="text/css" href="public/css/vendor.css"/> </head> <body> {% block content %} {% endblock content %} <script src="public/js/vendor.js"></script> {% block javascript %} {% endblock javascript %} </body> </html> |
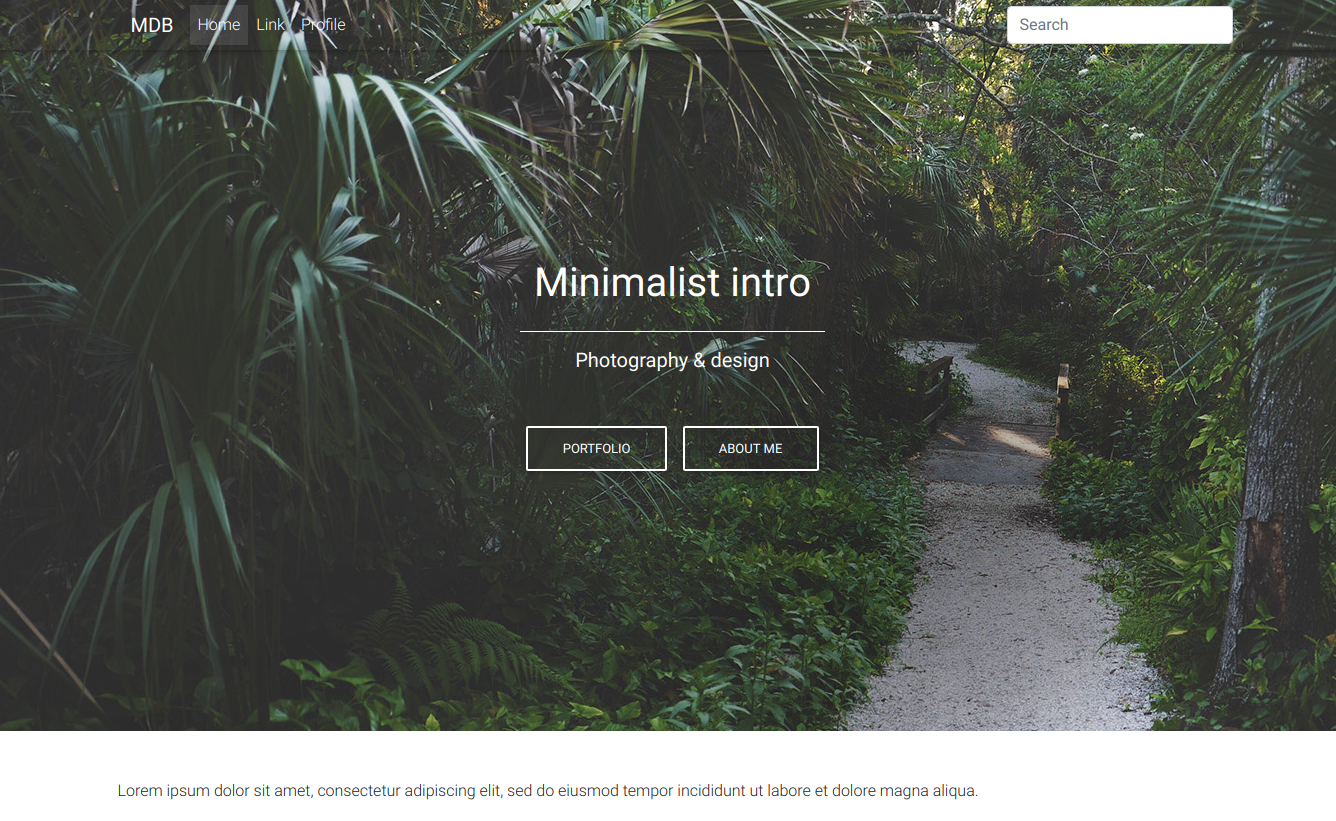
Now we can create the landing page view with it’s own content – the page extends the base template and includes views for the app’s navigation and intro section. For this example I used a page from Material Design for Bootstrap theme – Minimalist Intro:
|
1 2 3 4 5 6 7 8 9 10 11 12 13 14 15 16 17 18 19 20 |
<!--templates/landing_page.twig--> {% extends 'layout/base.twig' %} {% block content %} <header> {% include 'layout/navigation/top.twig' %} {% include 'intro.twig' %} </header> <main class="text-center py-5"> <div class="container"> <div class="row"> <div class="col-md-12"> <p align="justify"> Lorem ipsum dolor sit amet, consectetur adipiscing elit, sed do eiusmod tempor incididunt ut labore et dolore magna aliqua. </p> </div> </div> </div> </main> {% endblock content %} |
Create the file with the navigation:
|
1 2 3 4 5 6 7 8 9 10 11 12 13 14 15 16 17 18 19 20 21 22 23 24 25 |
<!--templates/layout/navigation/top.twig--> <nav class="navbar navbar-expand-lg navbar-dark fixed-top scrolling-navbar"> <div class="container"> <a class="navbar-brand" href="#"><strong>MDB</strong></a> <button class="navbar-toggler" type="button" data-toggle="collapse" data-target="#navbarSupportedContent-7" aria-controls="navbarSupportedContent-7" aria-expanded="false" aria-label="Toggle navigation"> <span class="navbar-toggler-icon"></span> </button> <div class="collapse navbar-collapse" id="navbarSupportedContent-7"> <ul class="navbar-nav mr-auto"> <li class="nav-item active"> <a class="nav-link" href="#">Home <span class="sr-only">(current)</span></a> </li> <li class="nav-item"> <a class="nav-link" href="#">Link</a> </li> <li class="nav-item"> <a class="nav-link" href="#">Profile</a> </li> </ul> <form class="form-inline"> <input class="form-control mr-sm-2" type="text" placeholder="Search" aria-label="Search"> </form> </div> </div> </nav> |
Now create the file with the intro section:
|
1 2 3 4 5 6 7 8 9 10 11 12 13 14 15 16 17 18 |
<!--templates/intro.twig--> <div class="view hm-black-light jarallax" data-jarallax='{"speed": 0.2}' style="background-image: url(https://mdbootstrap.com/img/Photos/Others/img%20%2848%29.jpg);"> <div class="full-bg-img"> <div class="container flex-center"> <div class="row pt-5 mt-3"> <div class="col-md-12"> <div class="text-center"> <h1 class="h1-reponsive white-text font-up font-bold mb-3 wow fadeInDown" data-wow-delay="0.3s"><strong>Minimalist intro</strong></h1> <hr class="hr-light mt-4 wow fadeInDown" data-wow-delay="0.4s"> <h5 class="font-up mb-5 white-text wow fadeInDown" data-wow-delay="0.4s"><strong>Photography & design</strong></h5> <a class="btn btn-outline-white wow fadeInDown" data-wow-delay="0.4s">portfolio</a> <a class="btn btn-outline-white wow fadeInDown" data-wow-delay="0.4s">About me</a> </div> </div> </div> </div> </div> </div> |
Create a controller to display your landing page
As an example controller, I created LandingPageController.java with an action to display the new landing page:
|
1 2 3 4 5 6 7 8 9 10 11 12 13 |
// src/main/java/in/keepgrowing/awesomeproject/Controller/LandingPageController.java package in.keepgrowing.awesomeproject.Controller; import org.springframework.stereotype.Controller; import org.springframework.web.bind.annotation.RequestMapping; @Controller public class LandingPageController { @RequestMapping("/") public String index() { return "landing_page"; } } |
Now you can rebuild your project and refresh the http://localhost:8080/ in the browser.
Our example, built according to the theme documentation, looks like this:
If you want to add a personal touch
This landing page is sufficient if you want to test your template engine implementation and assets management. However, as you can see, the menu requires some adjustments to work exactly like the one in the MDBoostrap example. You may also want to customize some styles. Check out the Custom css in a Spring Boot Project with gulp post to see how you can easily modify the look of your application.
Photo by Matheus Bertelli on StockSnap
Got the below exception
org.jtwig.parser.ParseException: Invalid template format