
After updating to Java 17 we can encounter difficulties when running the mvn commands. Read this article to learn how to get rid of the “Error executing Maven” problem.
Prerequsites
First of all, I’m working on Ubuntu 20.04 LTS and all commands form this article were executed on the following release:
|
1 2 3 4 5 6 |
$ lsb_release -a No LSB modules are available. Distributor ID: Ubuntu Description: Ubuntu 20.04.3 LTS Release: 20.04 Codename: focal |
Furthermore, I already updated my environment to use OpenJDK 17:
|
1 2 3 4 |
java --version openjdk 17.0.1 2021-10-19 OpenJDK Runtime Environment (build 17.0.1+12-Ubuntu-120.04) OpenJDK 64-Bit Server VM (build 17.0.1+12-Ubuntu-120.04, mixed mode, sharing) |
I still have Maven 3.6 installed so I’m going to replace it with a newer version. Nonetheless, most of the following instructions apply even if you want to use this tools on a clean Ubuntu installation.
Executing Maven commands for Java 17 projects
You may run into problems when trying to work with Java 17 projects and an existing maven installation. Using Maven 3.6 to run the mvn commands results in the following error:
|
1 2 3 |
[ERROR] Error executing Maven. [ERROR] java.lang.IllegalStateException: Unable to load cache item [ERROR] Caused by: Unable to load cache item |
I’m going to solve this problem by updating Maven. At the moment of writing this article the most recent version is 3.8.4. Remember to check the release history to get the current version number.
Installing Maven through the default Ubuntu repository won’t necessarily give you the latest release. We can check the available versions with the apt-cache command:
|
1 |
apt-cache policy maven |
As a result, we’ll see the package metadata that was acquired when we last run the apt update command:
|
1 2 3 4 5 |
maven: … Candidate: 3.6.3-1 Version table: 3.6.3-1 |
As shown above, in this case we can’t just run apt install.
Uninstall Maven
Skip this step if you have not installed Maven yet. I’m going to purge the 3.6 version from my machine by running:
|
1 |
sudo apt autoremove --purge maven |
This will delete Maven configuration, data files and it’s dependencies. I won’t be able to use the mvn commands until I have finished installing the new version.
Install the latest Maven version
We’re going to manually install the latest Maven release and set all the required environment variables to make it work properly.
Download and extract the archive
First, we’re going to find the most recent release – it’s available on the Downloading Apache Maven page:
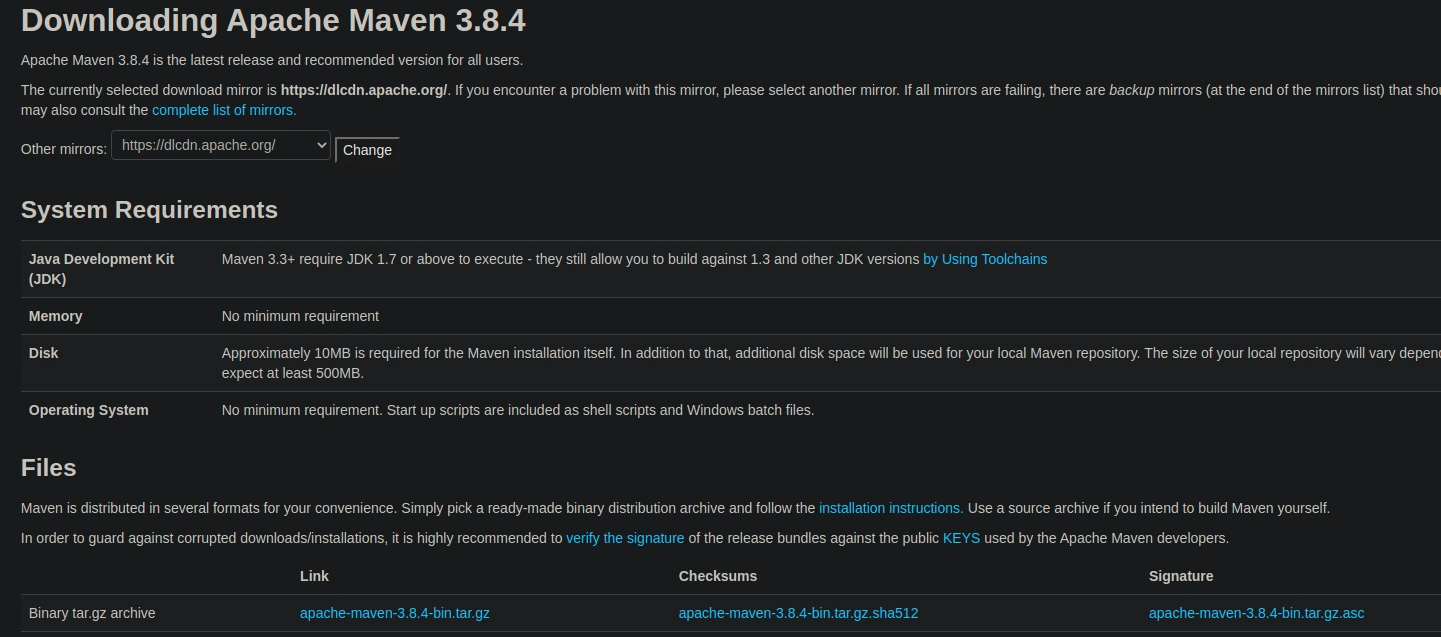
We’re going to download the binary tar.gz archive with the following command:
|
1 |
wget https://dlcdn.apache.org/maven/maven-3/3.8.4/binaries/apache-maven-3.8.4-bin.tar.gz |
In case of download problems, change mirror https://dlcdn.apache.org/ to another available value.
Next, extract the file into the /opt directory:
|
1 |
tar xf apache-maven-3.8.4-bin.tar.gz -C /opt |
Below is the short description of the options used with the tar command:
x– extract the given file from an archive (operation mode);f– use archive file (device selection);C /opt– change to the/optdirectory before performing any operations (local file selection).
As a result, we’ll see the extracted directory under the specified location:
|
1 2 3 |
ls -la /opt … drwxr-xr-x 6 root root 4096 sty 5 09:51 apache-maven-3.8.4 |
Set environment variables for Maven
Now we will permanently set the environment variables for Maven. First, I’m going to create a symbolic link between the apache-maven-3.8.4 and new /opt/maven locations so that I don’t have to edit the variables the next time I update Maven:
|
1 |
sudo ln -s /opt/apache-maven-3.8.4 /opt/maven |
Consequently, the /opt folder now contains both the originally extracted directory and the link with a more generic name:
|
1 2 3 4 |
ls -la /opt … drwxr-xr-x 6 root root 4096 sty 5 09:51 apache-maven-3.8.4 lrwxrwxrwx 1 root root 23 sty 5 09:53 maven -> /opt/apache-maven-3.8.4 |
I’m going to use the link as a value of the Maven environment variables. This way, the next time I update Maven I will simply change the symbolic link to point to a newer release.
I’m going to create a new script file called maven_home.sh and put it in the /etc/profile.d/ directory:
|
1 |
sudo nano /etc/profile.d/maven_home.sh |
Copy the following lines and paste it (Shift+Insert) into the file:
|
1 2 3 |
export M2_HOME=/opt/maven export MAVEN_HOME=/opt/maven export PATH=${M2_HOME}/bin:${PATH} |
Next, save and exit the file. Logout and login back to the system. Verify with the echo command that the M2_HOME and MAVEN_HOME values are correct, and that the PATH variable contains an entry for maven. Finally, you can check the version information for Java and Maven with the following command:
|
1 2 3 4 5 6 |
mvn --version Apache Maven 3.8.4 (9b656c72d54e5bacbed989b64718c159fe39b537) Maven home: /opt/maven Java version: 17.0.1, vendor: Private Build, runtime: /usr/lib/jvm/java-17-openjdk-amd64 Default locale: en_US, platform encoding: UTF-8 OS name: "linux", version: "5.11.0-44-generic", arch: "amd64", family: "unix" |
Now, commands like mvn clean install should execute without any compatibility issues with projects that compile to Java 17.
Read more on executing Maven commands for Java 17 projects
- How can I check the available version of a package in the repositories?
- When compiling a project, Maven throws an error
- How to Install Apache Maven on Ubuntu 20.04
- How to uninstall maven from Ubuntu
Photo by Marcus Aurelius from Pexels
Thank you Marta, well explained, helped me out.